How to install Apollo TV on Firestick
In the age of digital streaming, Firestick has emerged as a popular choice for transforming any ordinary television into a smart, content-rich hub. With a plethora of streaming applications available, Apollo TV stands out as a versatile platform offering an extensive library of movies, TV shows, and live TV channels. In this comprehensive guide, we will walk you through the step-by-step process of installing Apollo TV on Firestick, unlocking a world of entertainment at your fingertips.
Understanding Apollo TV:
Before diving into the installation process, let’s explore what makes Apollo TV a standout choice for Firestick users.
Apollo TV is a feature-rich streaming application that provides access to a vast collection of on-demand movies, popular TV series, and live TV channels from around the world. With its user-friendly interface and intuitive navigation, Apollo TV offers a seamless viewing experience for users of all ages.
Key features of Apollo TV include:
- Extensive Content Library: Apollo TV boasts an extensive library of movies and TV shows across various genres, ensuring there’s something for everyone.
- Live TV Channels: Access live TV channels from different regions, including news, sports, entertainment, and more, all within the app.
- High-Quality Streaming: Enjoy high-quality streaming with options to adjust video quality based on your internet connection.
- User-Friendly Interface: Apollo TV’s interface is designed to be intuitive, making it easy to browse, search, and discover content effortlessly.
Step-by-Step Installation Guide:
Now, let’s proceed with the installation process of Apollo TV on Firestick:
Step 1: Prepare Your Firestick Device
Ensure that your Firestick device is properly set up and connected to your television.
Step 2: Enable Apps from Unknown Sources
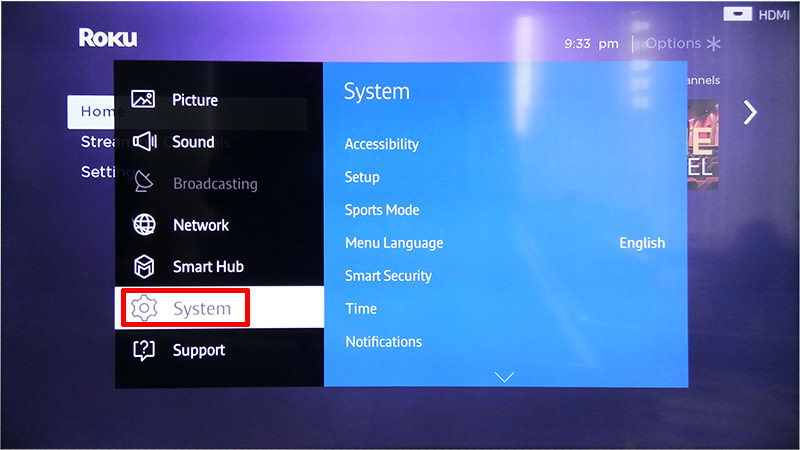
- From the home screen of your Firestick, navigate to “Settings” in the menu bar at the top.
- Select “My Fire TV” or “Device” (depending on your Firestick version).
- Choose “Developer Options.”
- Enable the option “Apps from Unknown Sources” by toggling it on.
Step 3: Install Downloader App
- Return to the home screen and search for “Downloader” in the search bar.
- Select the Downloader app from the search results and click on “Download” or “Get” to install it.
- Once installed, launch the Downloader app.
Step 4: Download Apollo TV APK
- In the Downloader app, navigate to the URL section and enter the following URL to download the Apollo TV APK file: [Insert download URL].
- Click on “Go” to begin the download process.
- Once the download is complete, click on “Install” to proceed with the installation of Apollo TV.
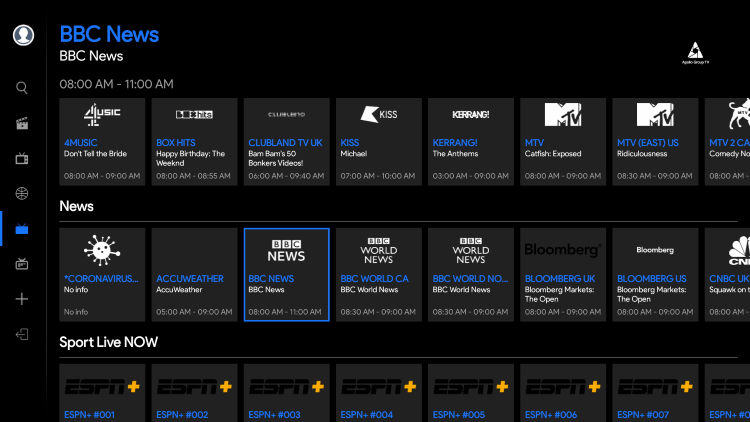
Step 5: Launch Apollo TV
After the installation is complete, you can find the Apollo TV app in the “Your Apps & Channels” section on the Firestick home screen. Launch the app and enjoy unlimited entertainment on your Firestick device.
Additional Tips:
- Update Apollo TV: Periodically check for updates within the Apollo TV app to ensure you have the latest features and bug fixes.
- Manage Storage: Firestick devices have limited storage capacity. Consider clearing cache and unused apps to optimize performance.
- Use a VPN: To ensure privacy and access geo-restricted content, consider using a VPN service while streaming content through Apollo TV.
- Explore Settings: Customize your viewing experience by exploring the settings within the Apollo TV app, such as subtitles, playback settings, and more.
Conclusion:
By following this step-by-step guide, you can easily install Apollo TV on your Firestick device and unlock a world of entertainment options. With its vast content library and user-friendly interface, Apollo TV offers a seamless streaming experience for users seeking quality entertainment on their Firestick-enabled televisions. Get ready to immerse yourself in endless hours of movies, TV shows, and live TV channels with Apollo TV on Firestick.